
The other day I reread some of the information I have on using a mud plaster on straw bale walls. Since we’re getting close to erecting walls and plastering them, I thought it was a good idea to refresh my memory a bit. I also searched for information online and watched a few videos on the topic.
A couple of the videos I watched showed using a light clay straw mixture for infilling walls. The method uses slip forms between which straw that has been mixed with a clay slip (clay suspended in water to a heavy cream thickness) that is light and not too wet. This light clay straw mix is packed into the wall between the forms.
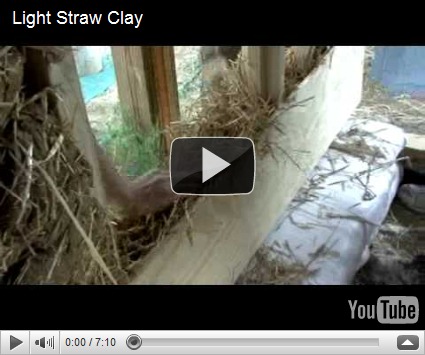
Here’s a video detailing the method:
After the light clay straw mix is packed into the form, the forms can be removed and the material is allowed to dry. Once it’s dry, it can be plastered over just like the straw bale walls.
I want to plaster the interior walls of the house like the straw bale walls. I’ve thought of plastering over drywall, but I like this light clay straw method better. It has a couple of advantages over drywall: it’s cheaper (since I have straw already) and it provides some insulation qualities. I’m primarily interested in sound insulation for the interior walls.
So, yesterday afternoon, the boys and I gave this method a try. We screened a little clay dirt and then put it in the concrete mixer with some water to make a clay slip. It made beautiful slip! We spread some loose straw on an old tarp and mixed it with some of the clay slip. It’s like mixing salad dressing into a salad. The goal is to coat all of the straw without getting it too wet.
I screwed some pieces of 3/8” thick plywood onto an interior wall we framed on Monday, and the boys and I started packing the light clay straw into the wall. We packed a section of wall four feet wide by almost four feet high (my form boards are 2’ x 4’ pieces). After we finished packing, I removed the forms to reveal this result:


The main lesson learned from this experience is to pack the mix a bit more than I did yesterday. the section at the bottom was actually packed better than the top two feet. There are a few voids in the wall in places, but we’ll fill these with a cob mix later (cob is a heavy clay straw mix) before plastering the wall. When we near the top of the wall, the challenge will be in packing the mix in. We’ll try packing it from one side with only one form in place. Alternatively, we’ll use a cob mix for the last six inches or so of wall at the top.
5 comments:
Looks good, first time I have seen that. I think it will finish out nicely.
Tim
I'm not only enjoying these posts, but enjoying the opportunity to share them with others. With the latest posts showing the straw being used, it takes on a whole new level of interest to others. Much like a 'Oh, now I get it!', or 'Ah, I've heard of that, but never seen it, that's really neat!'
Keep up the good work!!!
Thanks for the comments! I hope to have another post tomorrow after we install at least some of the upstairs subfloor (which is also the ceiling for the main floor).
I'm excited about the light clay straw mix for the interior walls. We haven't done any more, but the section we did do is dry now. It is amazing how strong it actually is -- stronger than I expected. Once it is plastered, it will be better than a wall with plastered drywall.
I hope to start stacking bales in some walls next week. I'm thrilled with what we've accomplished so far this year.
love it! Glad to see it looks very similar to the panel I did today! lol It was my first time giving it a go. My husband wonders what happens when somebody leans on the wall... will it jump out of the timber frame? It's hard to tell at this stage.
We are insulating a timberframe sauna/bathhouse with it. So, timber cladding on the exterior, clay/straw infill then earthen plaster on the interior of the bathhouse and lime plaster on the interior of the sauna side of the building.
Good luck with your project. Looks great!
Gealbhan, your bathhouse/sauna sounds great. I wondered about the strength of the light clay/straw infill, too, but it is quite strong once it dries. It can only get stronger once plastered. I've been working on other aspects of the house and have not returned to the interior walls in which we'll be using light clay/straw. I am excited about it, though.
Post a Comment