Introduction

The 57 acres that comprise Cedar Ridge Farm are located in the beautiful rolling hills of South Central Kentucky. My wife, our four children, and I are on a homesteading adventure as we work toward increased self-sufficiency. We grow much of our own food and enjoy being in touch with the agrarian roots of our lives.

One of the major projects we have undertaken is the building of our own home. The house we're building has three major distinguishing features: 1. we're building it without incurring any debt; 2. it is a timber frame structure; and 3. the exterior walls will be plastered straw bales. We live debt and mortgage free, and building our house with that approach makes perfect sense. Large timbers in a home possess a beauty and project a sense of strength, stability, and warmth that we want in our home. Straw bale walls provide insulation and make ecological sense. This blog is a record of our home-building project.

Tuesday, August 31, 2010

Straw in the house (and a couple of other things)

We finished unloading and stacking the straw in the house around 7:00 last evening. It was after 8:00 by the time I had my chores done which involves milking two cows. I didn’t take any photos yesterday, but I did take some this morning.

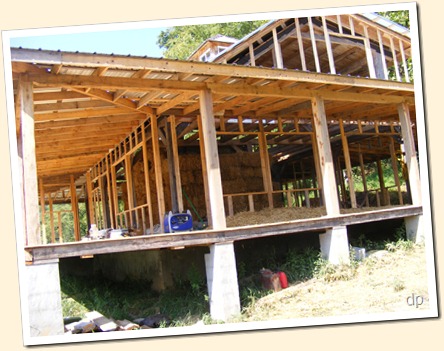
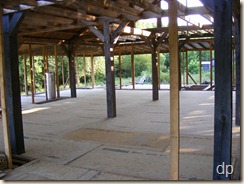
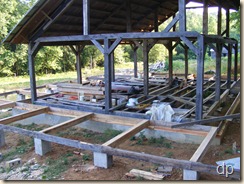
The straw was baled this summer after the wheat was harvested. I bought them from Tyler who lives near Bowling Green, Kentucky. He’s a very nice individual. how things looked 2 months agoHe kept the bales in his barn until I was ready for them here since I didn’t have any place to keep them dry until the house was far enough along to put them in the middle of it. The photo to the right shows how the house looked when I made the deal to purchase the straw from Tyler two months ago. As you can see, there wasn’t anywhere to stack and store bales securely out of the weather.
I bought 300 straw bales four years ago (has it really been that long?) which I stored in the barn. I’m still going to use some of them, but several haven’t survived because of various factors. The cows ate as many as they could get a hold of (they had to really stretch and reach, but they did it anyway). Some were used for animal bedding. Some got wet from a couple small roof leaks. So, I needed some fresh, new bales.

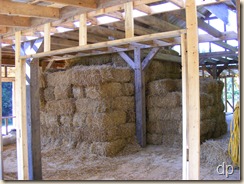
bales stacked in the house

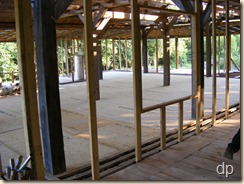
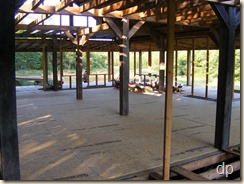
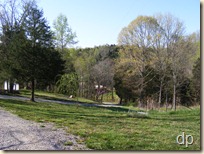
To the left you can see what 300 bales stacked inside the house looks like. It makes it look a lot like a barn! It took about 40 minutes to unload the trailer. The trailer Tyler hauled them on (he delivered them) was a 30 foot monster. I thought we would shuttle the bales about 100 at a time the drivedown the hill to the house with my truck and trailer. But, he was willing to drive it down. It should be mentioned that it is a gravel driveway on a fairly steep hill. The photo to the right is of our driveway going down the hill which was taken last April. It’s hard to appreciate in this picture just how steep it is.
After the weight of the trailer and bales pushed the truck a bit on the gravel at the top, we chained my 4x4 truck to the back of the trailer to provide some extra braking power and made it the rest of the way down just fine. He was then able to drive near the house and back the trailer up to the porch from which point we unloaded and stacked the bales in the house.

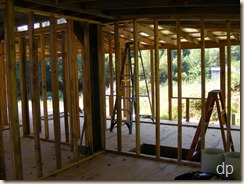
Tyler had to wait until he finished work yesterday before he could deliver the bales. He had about an hour to drive, and it was a quarter till 6:00 framed interior wallswhen he got here. So, during the preceding hours, Dad, Jon, and I worked on the house. We framed interior walls for the mudroom, laundry room, and sewing room/study. In two places these walls butt up against the straw bale wall. I also wanted the ones against the timber frame there to help provide structural support for the straw bales going upstairs as in this section there is not a bale wall below them as there is in the other sections.blocking
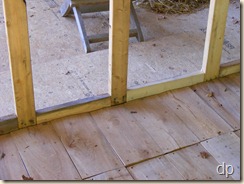
We also cut an installed some 2x4 blocking along the inside edge of the porch between the vertical stringers. We held the porch floor boards out the thickness of a 2x4 so that we could come back and insert this blocking. It helps to seal up along the bottom of the wall framed by the vertical strings. The starter strip for the siding will nail into this blocking.

Last week, Dad and I planed a few more boards for the upstairs subfloor. These are boards that I bought as cull lumber from a local sawmill and which have been stickered to dry the last two years. We didn’t get the job done because the motor in the planer was having some problems. It’s currently at a shop to be repaired. Once I get it back, we’ll finish planing the boards and then edge them so we can install them in the house. That’s the last major task before stacking bales for the walls.

After finishing our tasks at the house and before the straw bales arrived, I worked on making a bale needle. This will be used to push strings through straw bales in order to retie them to shorter lengths as necessary. It will also be used to push/pull strings through the walls to tie them to framing members. I only need to weld on a handle and do a little polishing, and it should be good to go. I’ll share a photo after it’s finished.

   Bales in the house

As you can see in the photo above, we finished installing the window and door bucks in the house last week. We also added additional vertical stringers as necessary. It’s quite exciting to be almost ready to put up the walls!
Monday, August 30, 2010

The straw bales are here!

It’s been a long but productive day. My dad, Jon, and I framed some interior walls defining the mudroom, laundry/utility room, and sewing room/study. We put blocking in around the edge of the porch between the vertical stringers. There were a couple other things that we also accomplished today, but the biggest thing was unloading 300 straw bales and stacking them in the house.

I don’t have photos yet – I’ll endeavor to post some tomorrow showing what we got done. We’re almost ready to start stacking bales in the walls.

Thanks to Tyler for delivering the bales and helping unload them.

Thursday, August 26, 2010

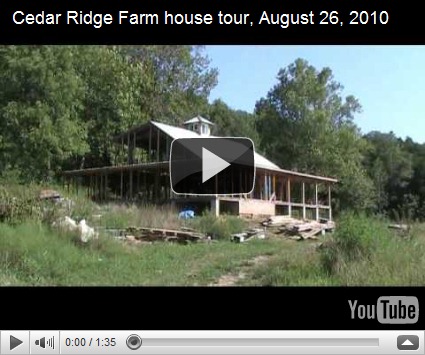
Video of the house

I shot a short video showing the house today:

Tuesday, August 17, 2010

First floor subfloor

Last week I ordered 48 sheets of Advantech sheeting for the first floor subfloor. I’ve tried to get a good deal on material for the subfloor, but the guy I’ve been buying lumber from hasn’t had any Advantech for a while. He offered to get what I needed from his supplier at his cost which ended up being about $2.50 per sheet less than what I would pay elsewhere.

I picked up the material on Sunday so that Jon, Dad, and I would be able to start putting down the subfloor on the main level of the house yesterday. I spent a couple of hours getting things ready Sunday afternoon, moving things out of the house and smoothing out the ground under the house – I needed to put plastic in the crawl space.

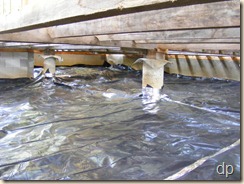
So, on Monday morning, we began by caulking gaps along the sill plate and boxing on the foundation walls, a job that was partially done last week. When we ran out of caulk (we were most of the way around, and I bought more caulk at lunch time so we could finish the job), plastic in the crawlspacewe started putting plastic on the ground in the crawl space. I bought some 6 mil black plastic on Sunday for this purpose.

The plastic comes in a 20 foot width. So, we rolled out enough to go from the front to the back of the crawlspace with a little to curve up onto the wall. We had to cut it to get it around the piers the timber frame sits on. We securely taped it around each pier. It took two widths to cover the main part under the house. We taped the seam together in the middle where the two pieces met.

After putting plastic down under the kitchen and under the mudroom, we began hanging radiant barrier insulation along the crawl space walls. radiant barrier insulation in the crawlspaceThis is a reflective material with bubble wrap in the middle. The idea is to hang it from the top of the crawl space wall so that it hangs down and curves out onto the plastic. This material’s insulation value is not diminished if it gets wet (I don’t want it to get wet, of course) unlike fiberglass insulation. It should help to keep the crawl space temperature moderated and allow us to capitalize on the thermal mass of the earth below the house. If we insulated under the floor, this wouldn’t be possible.

I learned of this method of insulating a crawl space from an insulation contractor in the St. Louis area on a forum a few years ago when researching what to do for our house. first sheet for subfloorHe claimed that his experience is that the temperature in the crawl space is maintained within 10 degrees of the temperature inside the house.

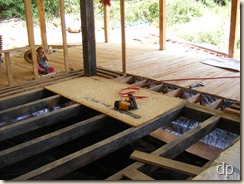
Once we insulated the areas that were already caulked, we began putting down Advantech sheets for the subfloor. We had to cut around timber frame posts and modify lengths because I hadn’t laid out the floor joists in the frame as I should have. However, the process when quite well. By the end of the day, we had finished the floor in the timber frame and also the kitchen area.

subfloor going down subfloor from northeast corner subfloor from back porch subfloor from west side

We’ll put the floor down over the root cellar and in the mudroom area on Wednesday. We also have to put floor down on the straw bale wall toe-up all the way around. There’s also one section of porch floor in what will be the summer kitchen that needs to be put down. We should be able to finish all that on Wednesday and start putting in window and door bucks, too.

Wednesday, August 11, 2010

Porch floor

With the porch roof put on (only two ridge caps left to complete), it was time to start laying the porch floor. With my dad’s help, I started putting boards down on Monday.

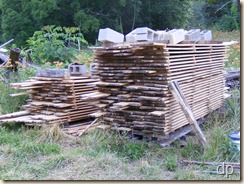
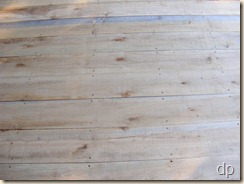
In the spring of 2009, a friend let me cut down some beech trees on his property and have the logs. stickered beech boards for the porch floorDad and I dragged the logs out of the woods and staged them for milling last fall. Finally, a friend of mine brought his Woodmizer sawmill over to saw the logs for me early this summer. We brought them home and stickered (stacked with sticks between the layers so that air can get all around the boards) them near the house, waiting for the time when they would become our porch floor.

We hauled several over near the cut-off saw, and porch floor boards screwed in placeDad began squaring one end. The design of the porch is for the floor to run from the house out. This allows the boards to be laid down without concern for their overall length, as long as they are long enough to allow some overhang at the edge of the porch. Once the boards are screwed down, I snap a line and cut them off to the right length with my circular saw. Then, they are all the same length.

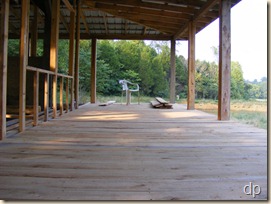
After dad squared one end, I would put a board in place and then screw it down with deck screws. This takes a fair bit of time. We were able to complete almost 30 feet of floor along the front of the house on Monday. Yesterday, I finished up the last four feet and cut the excess off the edge leaving a nice overhang. It looks quite nice.

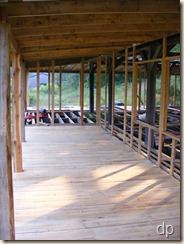
front porch floorfront porch floor

Today, Jon came over to work. He, Dad, and I worked on the porch floor on the back of the house. When I cut the trees and bucked them into saw logs, I was planning for the porch to be 9 feet wide. It turns out that it is actually 9.5 feet wide. So, some of the boards are almost but not quite long enough. So, we had to get creative.

back porch floorOn the back, we cut short lengths and screwed them near the house. Then, we ran longer lengths out from that. This made good use of our material with little waste, and it will work fine for the floor.

We completed the back porch floor and started on the east side of the house before quitting for the day. On Friday, we’ll continue where we left off.

Tuesday, August 10, 2010

Porch roof

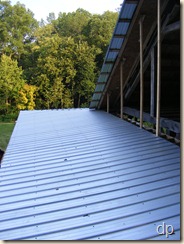
Last week I was able to work during the first half of the week. The job at hand was the porch roof, continuing to install the sheets of metal.

For the front of the house, I cut three inches off of the metal so that the amount extending past the fascia board would be correct. I wasn’t able to extend the metal as far under the house roof as I expected. So, the full 11 feet I ordered was too long. They were quite easy to cut using a metal cutting blade in the circular saw. We cut 7 sheets at a time (I needed 14).

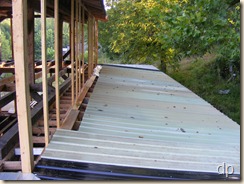
When I ordered the metal, I planned on using some of the 10 foot sheets I already had for the corners, expecting the color to be similar (I ordered “rainbow”). However, of the 50 sheets I ordered, 48 were galvanized and two were black. I used the galvanized metal on the sides, the front, and all four corners. metal on back of the houseUsing it on the corners meant that I didn’t have enough to extend across the back.

So, I used some of the metal roofing sheets I already had. The only problem was that they are only 10 feet long, not eleven. This left a gap of about a foot at the top near the house. Although I planned to cut pieces and put them over this gap, I didn’t get that completed until today.

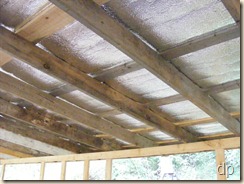
Before I began the roof, it occurred to me that I hadn’t planned for condensation issues radiant barrier insulation under the metalover the areas the roof covers which are part of the house, like the kitchen, mudroom, utility room, and sewing room/study. I asked about doing so at the metal supply place, and they suggested using radiant barrier insulation under the metal. It turns out that this is a common method used by builders in the area. So, that’s what I did.


 under the roof  porch roof, east side